Customize report layout in Microsoft Word
Business Central has a possibility to utilize Microsoft Word for report layouts. In this way, it can be quite easy to design sales invoices, credit memos, or any other reports with specific layouts.
To set up report layouts in Business Central, follow the provided steps:
- Click the
 button, enter Report Layout Selection, and open the related link.
The page with the list of all reports available in the system is displayed. - Find the report you wish to customize with the Search functionality in the ribbon.
- Click Custom Layouts in the ribbon.
The list of all custom layouts that are created for this report is displayed. - Select the layout you want to modify, click Layout in the ribbon, followed by Export Layout.
As a result, a Word file is downloaded to your PC. - Open the downloaded file, and enable the Developer tab in Word.
- Navigate to the Developer tab, and select the XML Mapping Pane option.
XML Mapping is displayed on the right side of the Word window as a result. - In the Custom XML Part, select the report you want to customize.
Data items and fields for the report are displayed. - Replace all placeholders in the downloaded file with actual fields from the report.
You can always change the layout of the report if necessary. After the fields are mapped, the resulting layout should resemble the one presented in the following screenshot: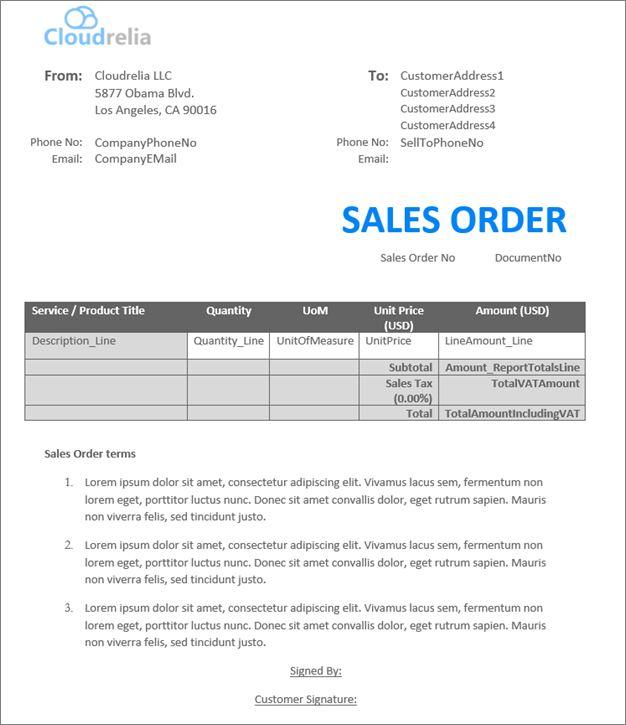
- Save the file, and go back to Business Central to select the layout you want to import.
- Click Layout in the ribbon, followed by Import Layout.
- After the import is completed, go back to the Report Layout Selection, and select the layout you’ve just uploaded.