Set up POS Pricing Profile
Each POS can have different customer price lists, customer discount list, and price matching. To set up POS pricing profiles, follow the provided steps:
- Click the
 button, enter POS Pricing Profiles and choose the related link.
 - Create New.
- Type in the name of POS Pricing Profile in the field Code.
- Add a Description.
- In the Customer Pricing Group field select the corresponding value of the customer pricing group.
- In the Customer Discount Group field select the corresponding value of the customer discount group.
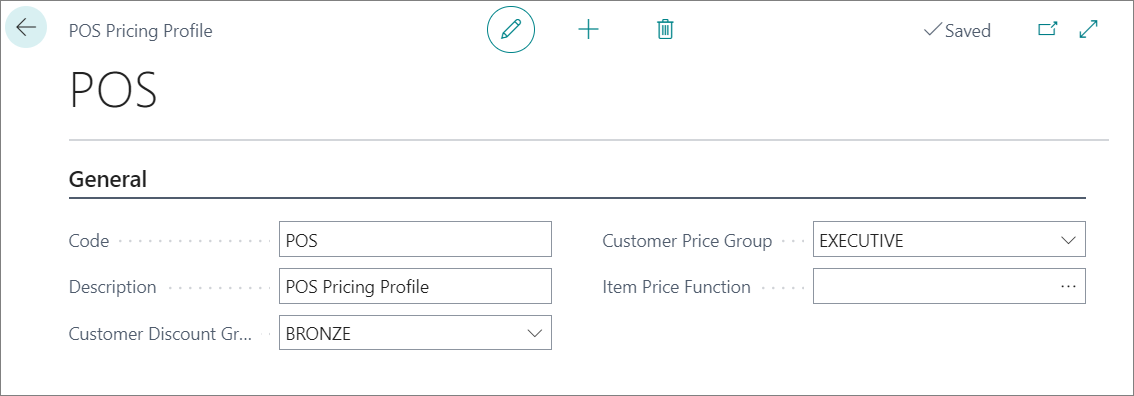
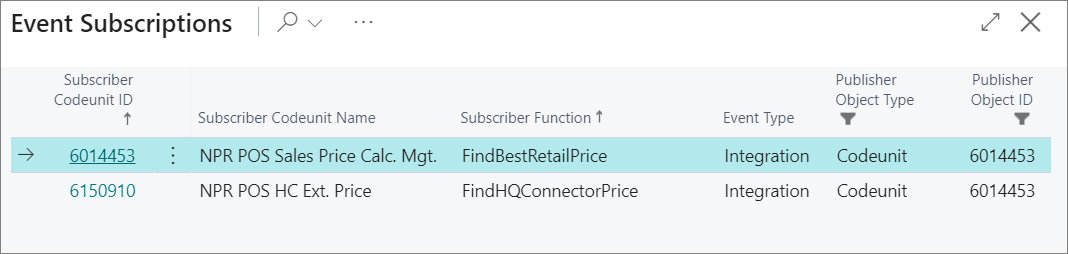
- In the field Item Price Function choose between:
- Find Best Retail Price function,
- Find HQ Connector Price.
When configuring the pricing profile, it's important to check whether any specific Sales Price List is referenced from an Item Card that is also affected by the pricing profile. Any sales price list set to All Customers may override setup from the POS Pricing Profile, and be used as the price source for all customers.
Next steps
Set POS Pricing Profile on POS Unit
The created POS pricing profile needs to be set on a POS unit for the settings to be applied:
- Click the button, enter POS Unit List, and choose the related link.
- Open the POS Unit Card
- Add the created profile in the POS Pricing Profile field.
Configure price list for POS Pricing Profile
If you use Customer Pricing Group and Customer Discount Group for specifying different prices for different customer groups, you can create specific Sales Price List for the POS Price Profile.
- Click the button, enter Sales Price Lists, and choose the related link.
- Click New.
- Create a price list with POS Pricing Profile as the Assign-to Type.
- Specify Price List Lines.
- Activate the Price List.