Take a photo on the POS
The Take Photo feature can be enabled on POS units, and give an option to cashiers to take photos of products that customers have returned to stores. This action can be added in a form of a button in any POS menu and used during active POS sales. To use this feature, follow the provided steps:
Prerequisites
- Add the Take Photo button to the POS menu you want it to be displayed in.
The action you need to attach to the button is TAKE_PHOTO.
Procedure
Click POS in the Role Center’s ribbon, followed by Open POS.
The POS login screen is displayed.Enter the Salesperson Code in the provided field to log in. The button to which the TAKE_PHOTO action is attached can be found in the menu you’ve previously placed it in.
Click the TAKE_PHOTO button.
The Take a picture popup window from the integrated camera is displayed.Snap the picture, and click Use to upload it and connect it to the active POS sale if you’re satisfied with the result. If not, you can Retake it.
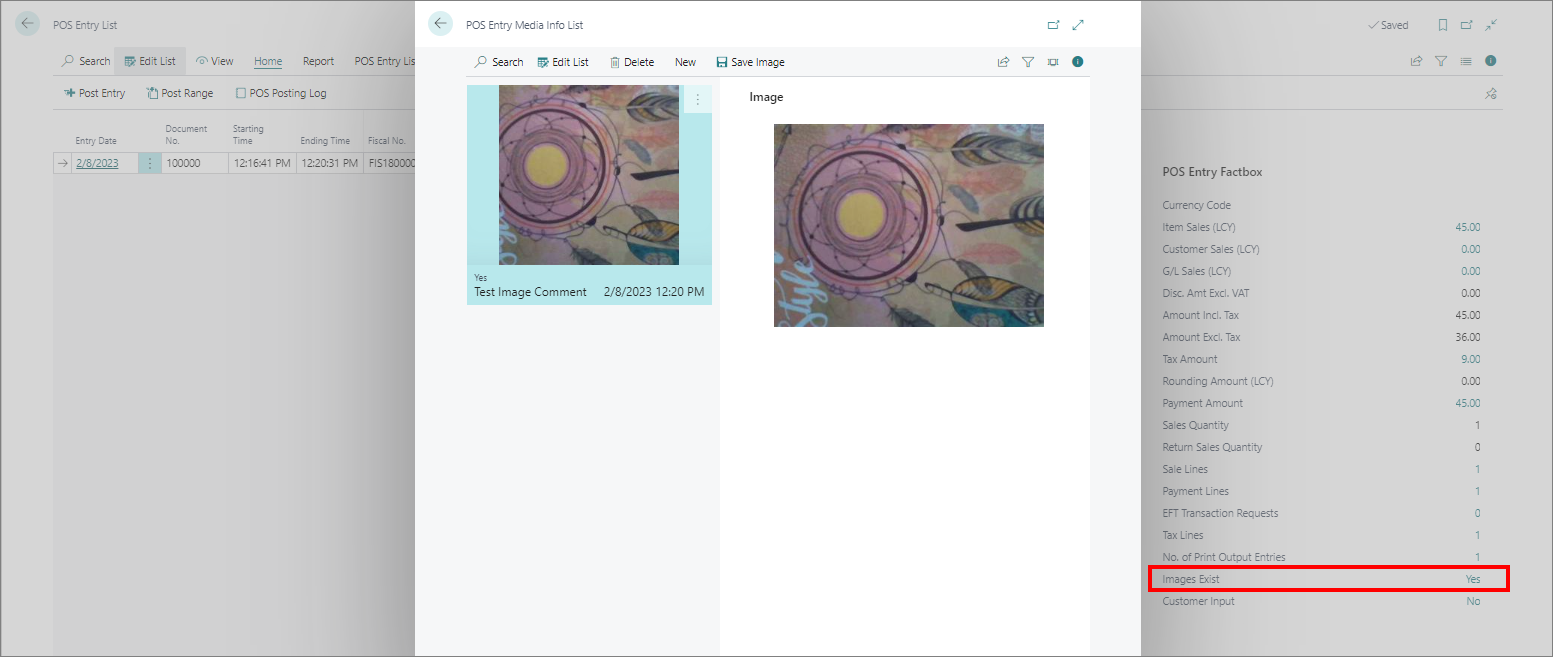
The image is linked to the transaction posted in the POS Entries administrative section in Business Central.To access the posted images, navigate to the POS Entry List from the Business Center’s Role Center.
Click Yes next to the Images Exist line in the POS Entry Factbox to access all images taken with the feature.
The POS Entry Media Info List window is displayed. In it, you can add comments, download the photos or take new ones.