Install Minor Tom
On this page
Minor Tom offers only the essential POS features necessary for working in retail. Due to its limited functionality, it is faster and intended for wider usage. Follow these steps to set up Minor Tom:
Download Minor Tom either from the NP Retail Role Center dashboard, or from the direct link, and install it.
The desktop shortcut is automatically created as soon as installation is finished.Open Minor Tom.
When you enter the app for the first time, you will be presented with the setup page.Depending on which environment you’re using, do one of the following:
On-Prem
- Both Username and Password are optional, but you can provide them if you wish to enable the auto-login feature.
- In the URL field paste the URL of the Business Central instance in the following form: https://www.examplecustomer.dynamics-retail.net.
- Make sure that the toggle switch is deactivated so that OnPrem is highlighted.
Cloud (SaaS)
- Leave the Username and Password fields empty.
- Paste the URL for the Business Central instance into the URL field.
- Enable the toggle switch so that the Cloud option is highlighted.
The Environments section is displayed. - Click Fetch Cloud Environments.
If you haven’t logged in previously, the login screen is displayed.
The customer's Azure tenant needs to be configured prior to using the cloud version so that their session can be automatically extended on the following login.Once the installation is complete, click New Sale in the sidebar (right-click to open/close the sidebar) to start using the POS features.
Whenever a new Minor Tom version is available, it will be automatically detected and downloaded as soon as you launch the app.
Install Minor Tom for self-service POS (SaaS)
Follow the provided steps for installing the standard layout for the non-customized SaaS self-service module.
Download and install Self-Service Minor Tom.
Download and install HW Connector
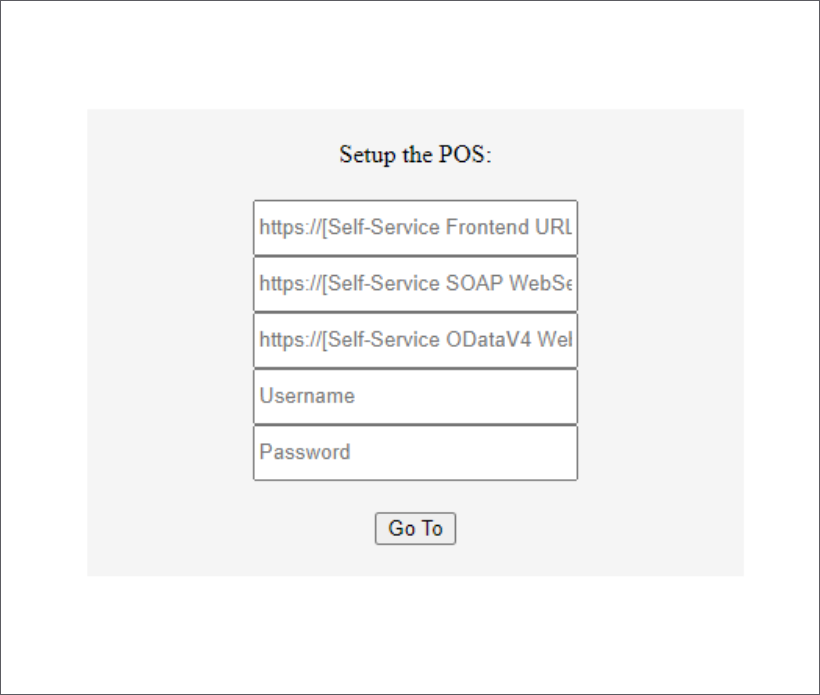
Once installed, open the self-service Minor Tom, and provide the POS-relevant information in the available fields.

After entering the information, a window showing all configuration settings appears.

- If you’re satisfied with the configuration, click Validate.