Install NP Power BI for WMS
The Power BI NP-WMS Report is an innovative solution seamlessly integrated with NaviPartner Business Central WMS, designed to revolutionize how businesses perceive and manage their warehouse operations. With the transformative capabilities of Power BI, this comprehensive report delivers an unparalleled depth of insight into every facet of your warehouse dynamics.
To install the application, make sure the prerequisite is met, and follow the provided steps:
Prerequisite
- Prior to initiating the installation process, it is imperative to ensure that you have an active Power BI account associated with the same business email address used for logging into Business Central. This alignment of email addresses will facilitate a seamless integration and ensure a smooth installation experience.
Procedure
Log into your Power BI account.
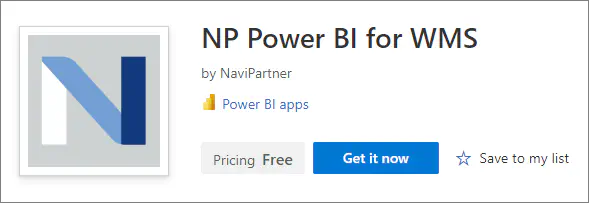
Go to the Microsoft AppSource and find our product NP Power BI for WMS. Click Get it now to run the installation wizard.
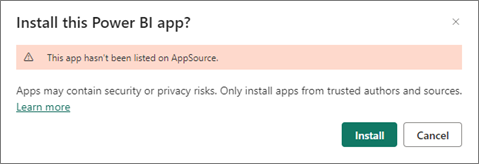
Once the installation wizard is displayed, click Install.
When the application is installed, it will be added to your list in the Apps section.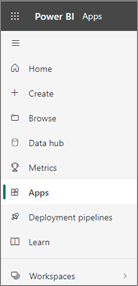
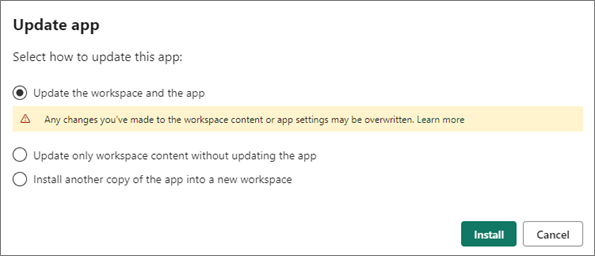
If you’ve already installed the application, you can update it to the new version by selecting the first option in the update app pop-up window, or install a new copy by selecting the third option. After selecting the third option, you need to add a new name of the installation app, and confirm it.
Once the app is installed, click on the application name to initiate its activation.
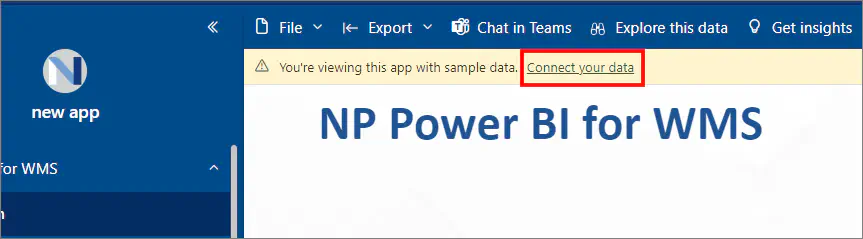
You can explore the content carefully curated with test data.If you determine that the app suits your business and organization, contact us to obtain the app link with the unlocked parameter fields. This specialized version, exclusively provided by NaviPartner, facilitates seamless integration with Business Central version 22.To connect to your data from Business Central, click Connect your data in the alert ribbon in the NP Power BI for WMS app.
In the Connect to NP Power BI for WMS pop-up, refer to the relevant URL (e.g. https://businesscentral.dynamics.com/3850537a-9e72-423a-9ff9-asdasd345322/EnviromentName-Prod?company=Test%20Company%20Aps&node=0000233e), and provide the data for the following required parameters:
- Environment - provide the environment name from the URL using capital letters (e.g. ENVIRONMENTNAME-PROD)
- Company - provide the company name from the URL without extra characters (e.g Company Aps)
Ensure that you don't have any blank characters in the beginning and the end of the text you provide.(Optional) Populate the following optional parameters:
- From Date: 01/01/2020
- To Date: 31/12/2024
- Fiscal Year Month: 1
If your Global Dimension Code 1 does not refer to shops, or starting month of your fiscal year is different from the calendar year, please get in touch with us.Click Next.
Choose the OAuth2 authentication method, and the Organizational privacy level settings.
Click Sign in and connect to synchronize your Power BI app with the data from Business Central.
This step may take some time, and after it’s completed you will be able to see your personalized data within the report.
The data will be automatically refreshed once per day by default, but this can be changed in the dataset settings, based on your preferences.