Set Up Ticket Dynamic Pricing in Shopify
Shopify app ticket setup
After installing the application, enter the required configuration parameters:
- Tenant ID
- Business Central (BC) environment
- Company
Click Save Connection Info and verify that the BC connection status is marked as “Connected” (green indicator):

Adding first ticket product
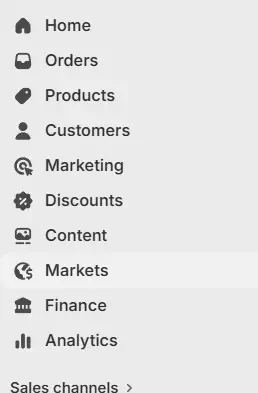
Navigate to Products from the main sidebar menu:
Click Add Product and fill in the required product details (e.g. name, description, price, etc.).
Ensure the following configuration is applied:
- Inventory tracking: Disabled (Not tracked)
- Product type: Non-physical product
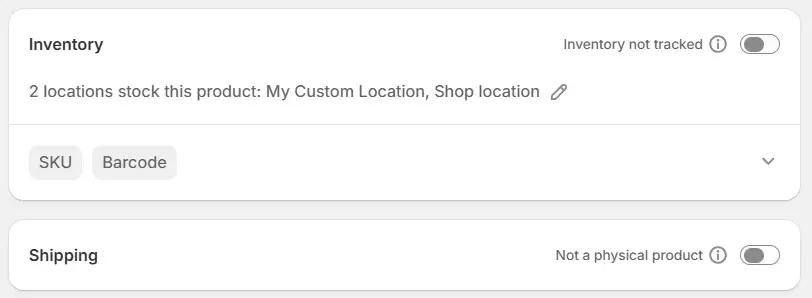
In the SKU field, enter the Ticket Item Number retrieved from Business Central:

Once completed, the ticket product is ready to be assigned to a ticket collection or used as a standalone product on a product page.
Dynamic Pricing Setup
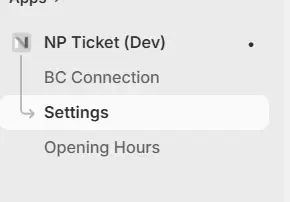
Navigate to the Ticket App from the sidebar and open Settings:
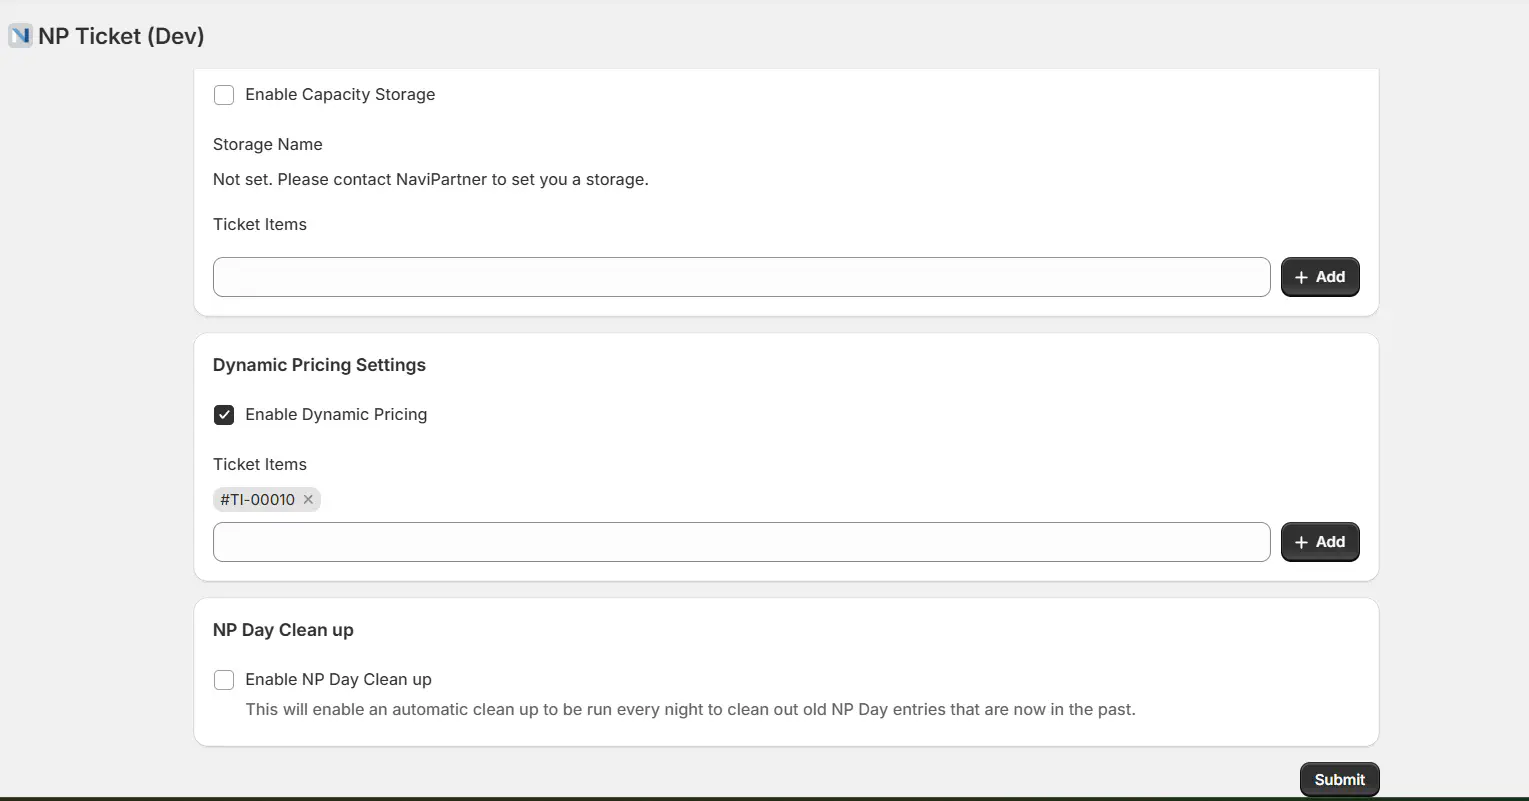
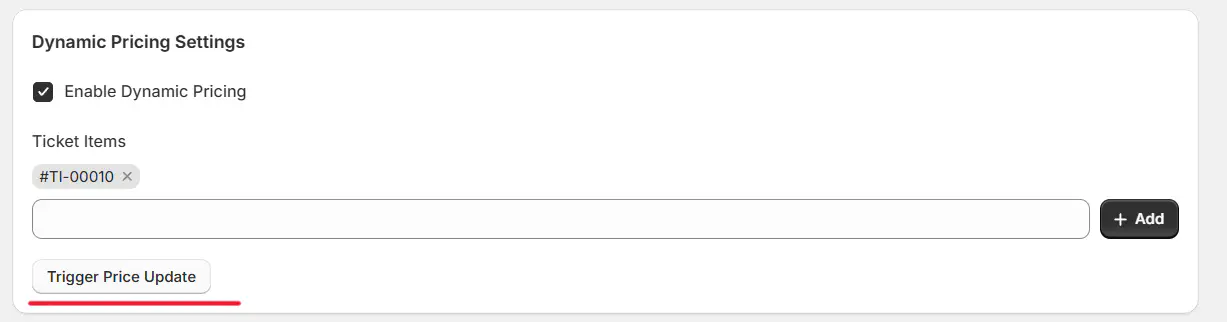
Within the Dynamic Pricing Settings section:
- Enable Dynamic Pricing
- Add the ticket product using its SKU
- After configuration, click Submit.
Alternatively, navigate to Products → Ticket, scroll all the way down, and click “Use Dynamic Pricing” in the Blocks section for the relevant product:
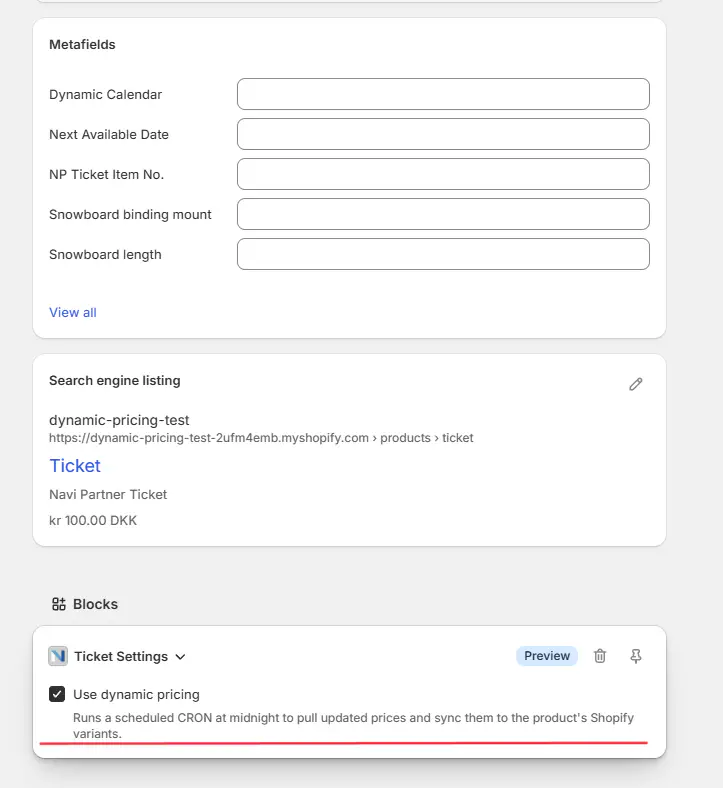
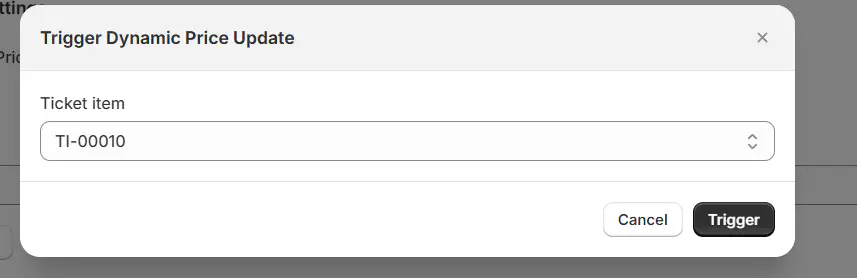
After submitting the dynamic ticket configuration, select Trigger Price Update:
Click Trigger:
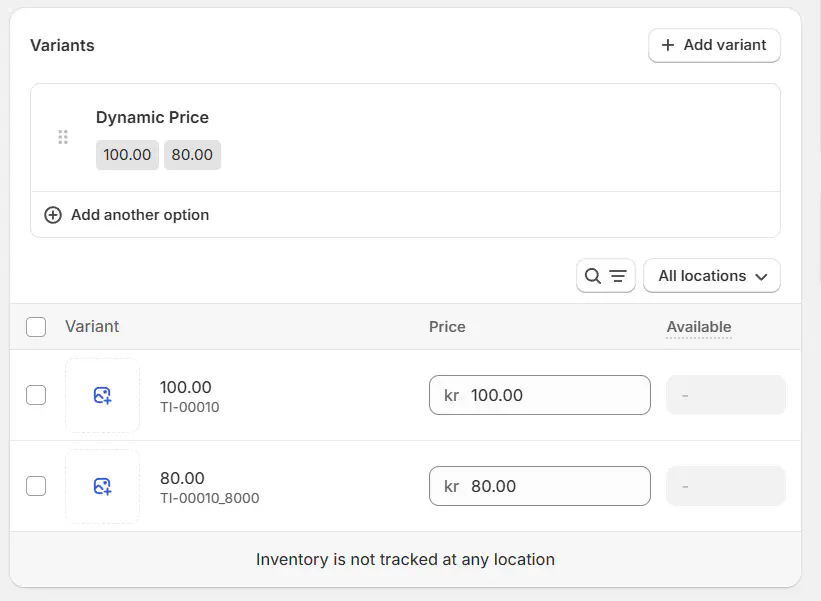
Verifying Updated Variants
Navigate to the Products section and open the relevant ticket product.
Confirm that newly generated variants are present.
Ensure that the variants match the pricing profiles defined in Business Central:
Pricing Profiles Configuration
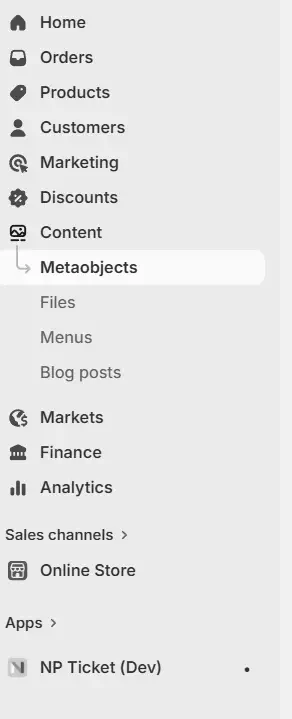
In Shopify Admin, navigate to Content → Metaobjects from the sidebar menu:
Open Ticket Dynamic Pricing Profile:

Click Add Entry and create a custom pricing profile:
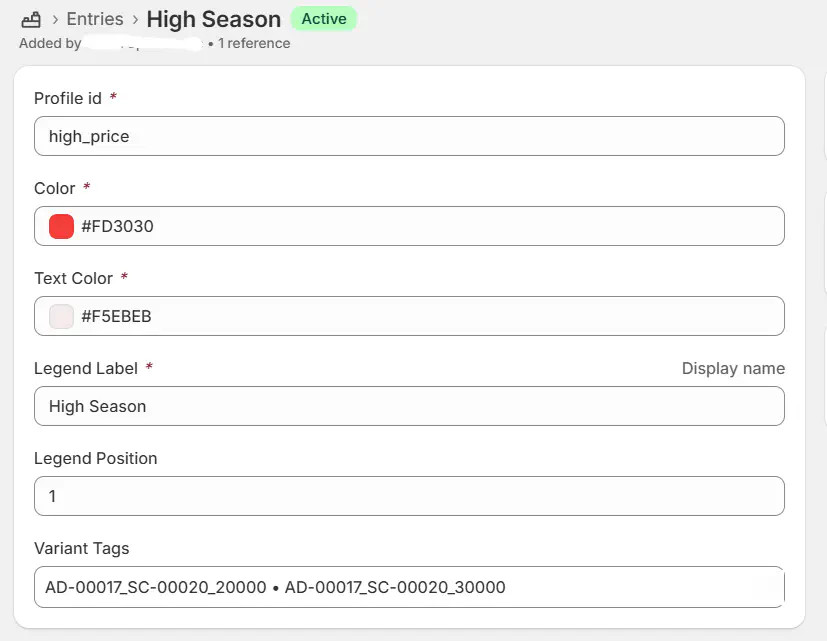
For each profile, you can define:
- Calendar tile color
- Text color
- Legend label (display name in calendar UI)
Mapping Pricing Profiles to Business Central
To link Shopify pricing profiles with Business Central pricing rules, configure Variant Tags accordingly:
Click the Variant Tags field and enter all relevant pricing profiles:
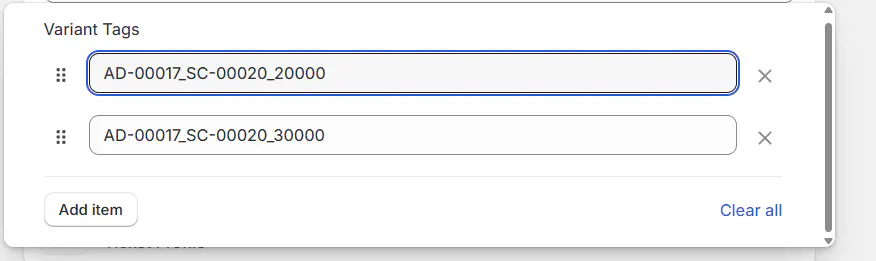
For the Base Price, use the Admission Code.
For additional pricing rules, use the following format:
AdmissionCode_ScheduleCode_RuleLineNo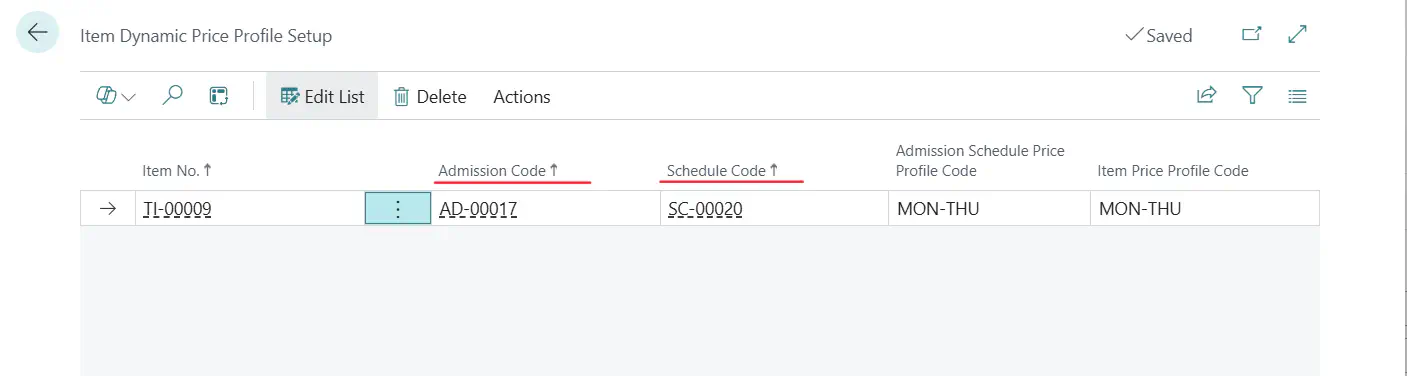

Required values can be found in Business Central under: Ticket Item → Ticket → Pricing Profiles.